
Adding a mod on an ARK server might be a real difficulty and the way to go has changed multiple times. Here is how to install your favorite mods on your mTxServ server!
Defining the mods to install on your server
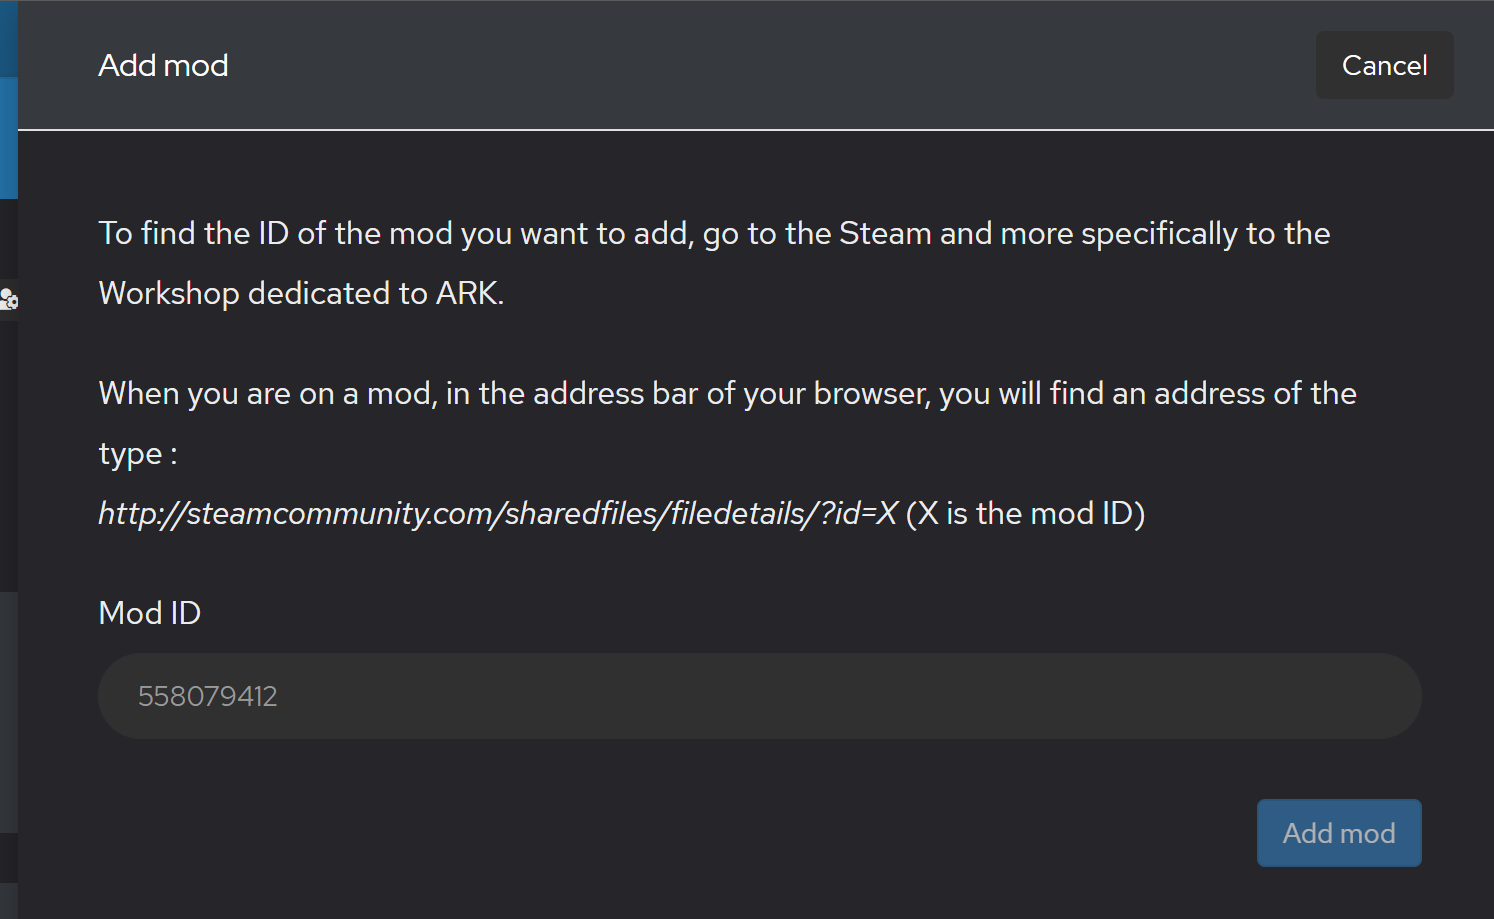
Let's get into the dedicated Steam Workshop. When you're on a mod page, you should find an address like this one:
http://steamcommunity.com/sharedfiles/filedetails/?id=X
(If you're on the Steam software, just right-click then click on the "Copy the link address" option)
X is the mod ID, please save it for later.
To enable your favorite mods, they have to be specified in the startup command line et have to be taken into account. If you wish to customize the loading order, select the second method.
Method 1: Using the mTxServ panel
Go to the Mods section.
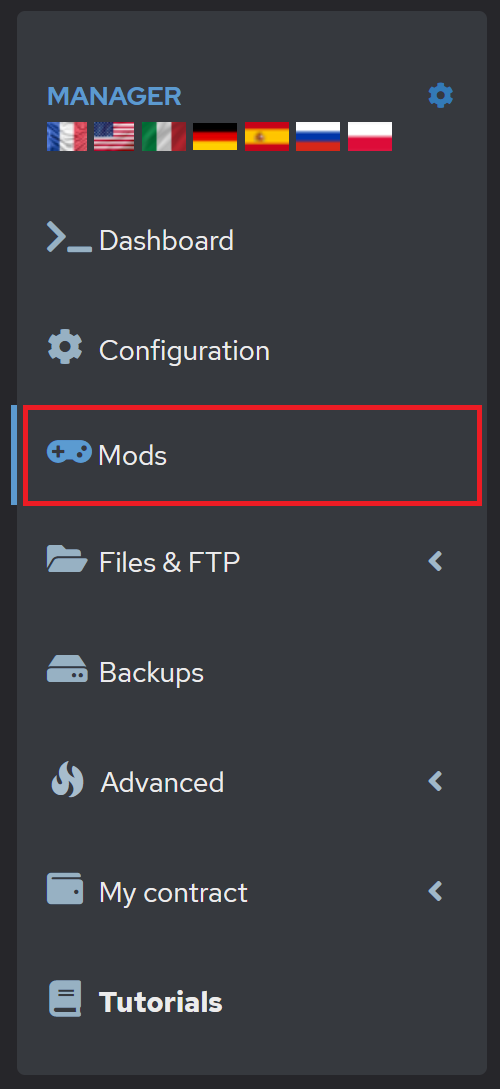
Click on the gear on the right side.

Then, in the mod ID section, enter the ID you just copied from the Steam Workshop.
That's all!
Method 2: Using the FTP Access
For this method, you'll need to get into the FTP section of the panel then Web FTP. Access the following file or create it if it doesn't exist:
ark/ShooterGame/Saved/Config/LinuxServer/GameModIds.txt
Fill this file with the mods IDs you want to enable, without any space but with a comma between them. For example, we want to install 3 mods with the IDs 123, 456 and 789, you should fill the file like this:
123,456,789
Don't forget to restart your server and have fun!
Automatic mods installation
Mods will be installed automatically if needed at the server startup. You should find their content on the FTP in:
ark/ShooterGame/Content/Mods
Automatic mods update
When you click on "Update" from the panel, you'll update both the server and the mods, if they need to. If a new release is available on the Workshop, they will be installed!